A Beginner’s Guide to Orchid Care
For beginner gardeners, orchids can seem quite intimidating. While their picky reputation is widespread, they’re easier to nurture than you may expect.
There are many technicalities when it comes to orchids. But luckily, you don’t need to know complex terms and have a degree in biology to keep orchids as a beginner. I will simplify all the aspects of orchid care, making them suitable for beginners to orchid growing or gardening in general.
Since orchids are diverse, it’s important to understand your specific type to give them the perfect care. But this general guide will help you in the right direction, demystifying orchid growing for good.
Orchid Types

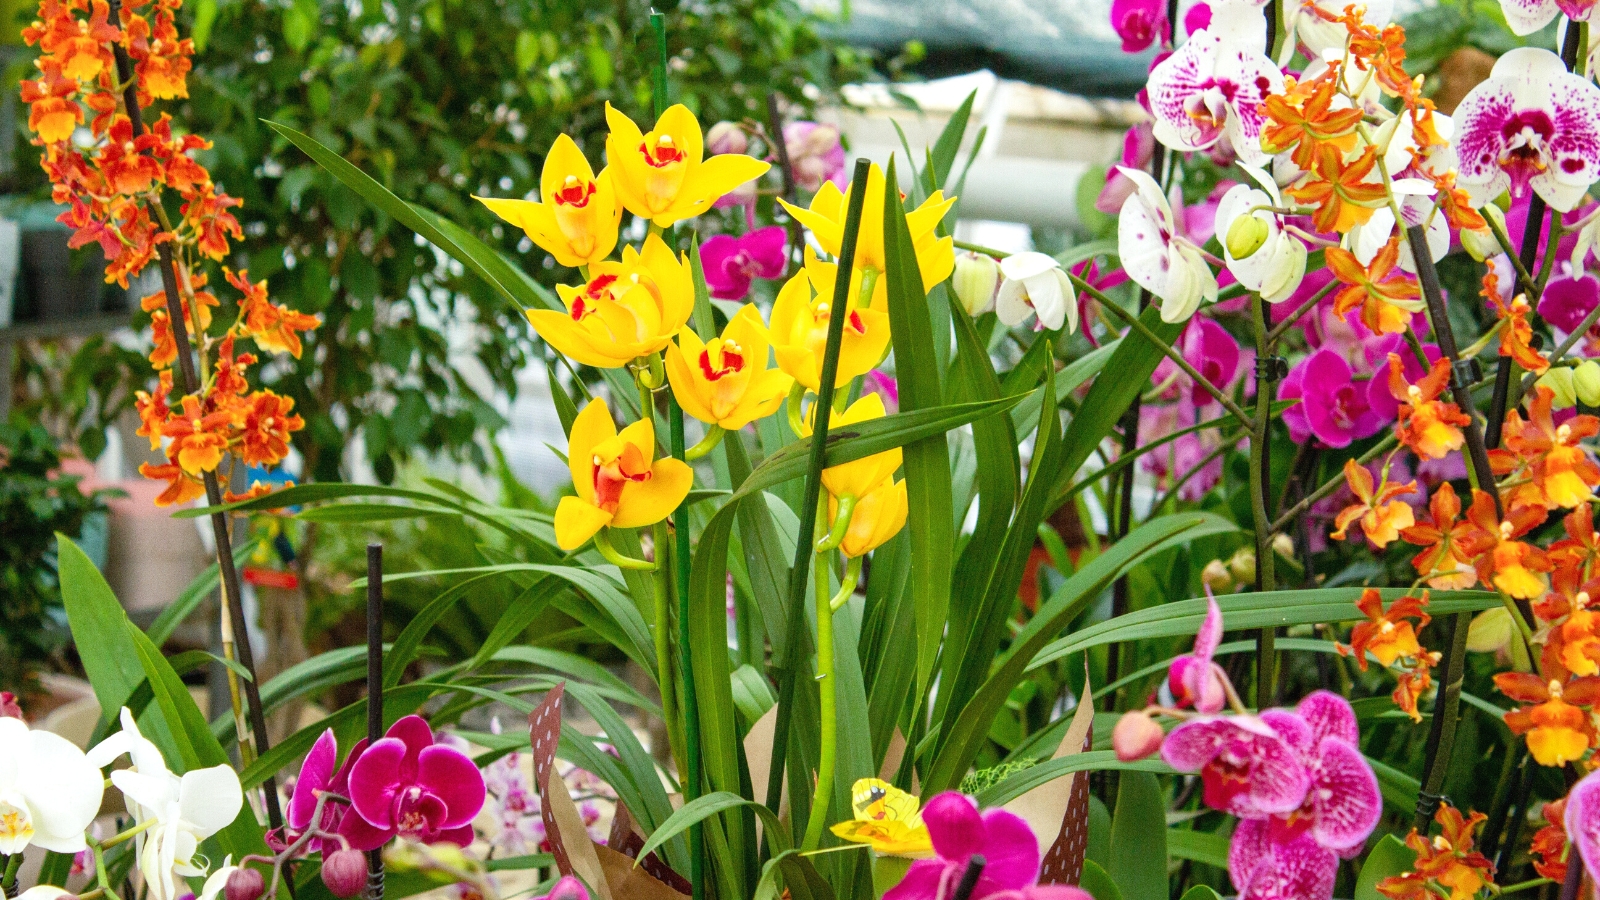
You may picture the typical Phalaenopsis when you hear the word orchid, but there is far more to this group than meets the eye. The orchid family (Orchidaceae) is one of the largest of flowering plants, with an impressive 26,000 species to enjoy.
Orchids are generally split into three types based on the way they grow. Epiphytic orchids are the most common, growing attached to trees in their native environments. The roots are exposed to the air and absorb moisture from humidity and pockets of debris on trees. They use trees for height, too, escaping the crowded forest floors to reach for more sunlight.
Lithophytic orchids grow in rocky areas, either in gravel-like conditions or on the sides of mountains. Thanks to these native conditions, they need fewer nutrients than other types to flower successfully but are incredibly sensitive to overwatering and root rot.
Terrestrial orchids are those that grow directly in soil. They still need plenty of drainage to prevent rot in containers but are accustomed to denser soil conditions and moist environments.
Orchids For Beginners

Within each of these types, there are several genera to choose from.
As a beginner, it’s easy to get lost in the complex genus names and the differences between species. Rather than overloading yourself with information, look for a beginner-friendly type you like the look of and learn about that particular species before you branch out.
Moth orchids (Phalaenopsis) are the most popular for a reason – they are incredibly resilient and tolerant of a few mistakes from beginners. Cattleyas and Cymbidiums are also easy-care plants, with the latter being suitable for those in cooler areas.
If you prefer plants a little more out of the box, genera like Bulbophyllum or Epidendrum are unique options that won’t give beginners much trouble despite their unique look. And if you prefer foliage over flowers, you will still find an option in the Ludisia genus.
Nothing is stopping you from choosing a fussier species with very specific growing requirements. But when growing any plant for the first time, there is an adjustment period as you learn their needs. Starting with these beginner-friendly types will set you up for success rather than leading to frustration.
Orchid Containers

Your choice of container may not seem that important, but it can make or break your orchid-growing journey from the start. The options are vast. You can grow your orchids mounted, in a standard container, or even in a hanging basket.
Look at the container in which most orchids come in or specialized orchid pots online, and you’ll notice a theme – plenty of drainage holes. Many even have holes on the sides and the bottom, allowing air to flow around the roots.
These extra drainage holes are helpful for epiphytic or lithophytic orchids. These orchids grow attached to other objects and have their roots mostly exposed to the air rather than sitting in soil. The extra holes help replicate these conditions, draining excess moisture and improving airflow.
For terrestrial orchids, any standard container is suitable. It should still have a drainage hole to help excess moisture drain away, but it doesn’t need as many holes as the other types.
Drainage is the most important factor to consider. If your chosen container has no holes, drill extra holes if possible or choose another pot to avoid risking root health.
Potting Mix

What you put in the container is just as important, if not more, than the container itself. Most orchids will be unhappy in regular potting soil (or worse, garden soil). Potting soil is too dense for epiphytic orchids and will quickly lead to root rot. This is especially important if you’re keeping your orchids indoors, where light is much lower and evaporation slower.
It’s possible to craft your own mix tailored to your container and specific species. And if you want to jump into the technicalities of orchid care, it’s not a difficult process.
However, I know when I mention making potting mixes to most beginners, I get a blank stare in return. The best option in this case is to look for a specialized orchid potting mix. These are largely made from bark chips packed with other materials to create the perfect conditions for healthy growth. This takes all the worry out of potting, ensuring a good start for your orchids.
Environmental Conditions
Next, you need to consider the environment. Although beginner orchids are relatively forgiving, placing them in an environment that closely matches their native habitat will make growth and care much easier.
Light

Light is the first condition to manage, especially since it is a great determinant of whether your orchid will flower.
Many orchids originate from tropical jungles and grow beneath the canopies of taller trees. Here, they receive dappled sunlight throughout the day. Indoors, this translates to bright indirect light or shaded greenhouse conditions outdoors.
Some orchids prefer slightly less light (moderate bright light), and others prefer a little more direct sun to flower successfully. Few grow well in deep shade, as this lack of sunlight can inhibit growth and flowering.
It’s always best to check the requirements of your specific orchid first, as there is plenty of variety between genera and species. But generally, bright indirect light is what to aim for. You can find this in front of bright windows indoors but protected from the path of direct sun or under trees or shade cloth outdoors.
Temperature

Most popular orchid species originate from tropical jungles where temperatures are warm throughout the year. These species can’t tolerate temperatures below about 50F, so they are often grown indoors for protection.
Other orchids come from cooler regions, can handle slightly lower temperatures, and are easier to place outdoors without impacting growth. But this does come with a caveat – they often require dips in temperature to trigger flowering.
Make sure you understand the native environment of your chosen orchid and replicate those temperatures to help it grow to its full potential.
Humidity

Humidity has less impact than the previous two conditions but can impact overall growth and health. Orchids from tropical environments love high humidity and need to absorb moisture from the air to supplement the epiphytic roots.
Around 70% humidity is ideal, but anything above 50% suits most orchids. Higher humidity does increase the risk of fungal disease, so it’s important to allow air to circulate around the plant and watch closely for signs of problems.
Care
After finding the perfect placement, you can’t forget about your orchid altogether. Keeping up with care is essential to keep your orchid alive and, most importantly, encourage them to flower.
Watering

One of the biggest mistakes beginners make with orchids is overwatering. In their native environments, most orchids are used to short flashes of heavy rain, after which the roots can dry out in the open air.
Epiphytic roots hate sitting in moisture and will quickly rot if overwatered. Orchids also can store water in their leaves and pseudobulbs, keeping them satisfied when water runs out. That’s why it’s far better to lean on the side of underwatering than overwatering for long-term health.
Depending on the season, it’s best to water once every one to two weeks, completely drenching the roots and then allowing the medium to dry out before watering again. Some terrestrial orchids prefer more consistent moisture but still can’t stand waterlogging.
You may have heard the suggestion of watering orchids with ice cubes online. While this does limit the chances of overwatering, it’s not the best method of watering overall. Ice cubes typically don’t provide enough moisture to drench the roots and flush the soil, and the temperature of the cubes can also shock the roots, stunting growth.
Feeding

Flowering requires plenty of resources, including nutrients. To increase your chances of repeat flowering, feeding your orchids throughout the year is best. Some orchid mixes have slow-release fertilizer mixed in, but if your bark doesn’t, you must supplement the little nutrients available in the potting mix.
Just like potting mix, the easiest solution for beginners is to simply choose a fertilizer formulated for use on orchids. No need to go into detail about NPK values and micronutrients – as long as the product is made for use on orchids and is high-quality, you shouldn’t have any trouble.
Orchids are sensitive to overfertilizing, so I like to apply any fertilizers at half-strength. Requirements differ per product, but these fertilizers are generally applied once a month or slightly more often, just before flowering.
Repotting

Orchids don’t mind being confined to their containers. However, they will need repotting every couple of years. This is usually to refresh the potting mix as it breaks down, but it also needs to be done when the roots become too crowded.
When repotting, remove the plant from its current container and gently tease the roots to remove the old soil. Fill a new container, either the same size or one size up, with the orchid mix and lower the plant inside, keeping it upright. Water immediately after repotting to settle the roots in their new home.
Encouraging Reflowering

One of the most common questions beginner orchid growers ask is – how can I get them to flower again? It’s not a difficult process, but it does require some additional maintenance.
Once the plant is finished flowering for the season, start by cutting the flowering stalk back. Use clean, sharp pruning shears to avoid damaging the plant or transferring diseases. This allows the orchid to rest and build up the energy to push out flowers again later on.
Even though your plant is not flowering, you can’t forget about it completely. It will use fewer resources when not in flower but still needs regular watering and occasional feeding to maintain health.
Beyond that, environmental conditions are key to getting flowers to emerge again. Give them the right amount of light, temperature, and humidity to match their native environments, encouraging them to push out flowers again when they would naturally.
Final Thoughts
Orchids may be intimidating, but they are not more difficult to care for than other flowering plants. Remember these tips to ensure your orchid stays happy and flowering for years to come.


