Causes and Fixes to Try
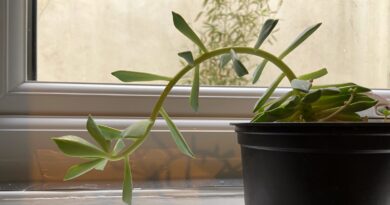
Alocasias are beautiful, but also dramatic plants. The foliage is bold and striking when things are going well, but the moment something is off, the leaves let you know about it. Brown and yellow alocasia leaves are common, and they can be frustrating to troubleshoot because several different problems produce similar-looking symptoms. The challenge is figuring out which one.
Rather than guessing and potentially making things worse, work through the possible causes below and compare them to what you’re seeing on your plant. The combination of symptoms, where the discoloration appears, and your recent care routine will usually point you to the answer.
Overwatering
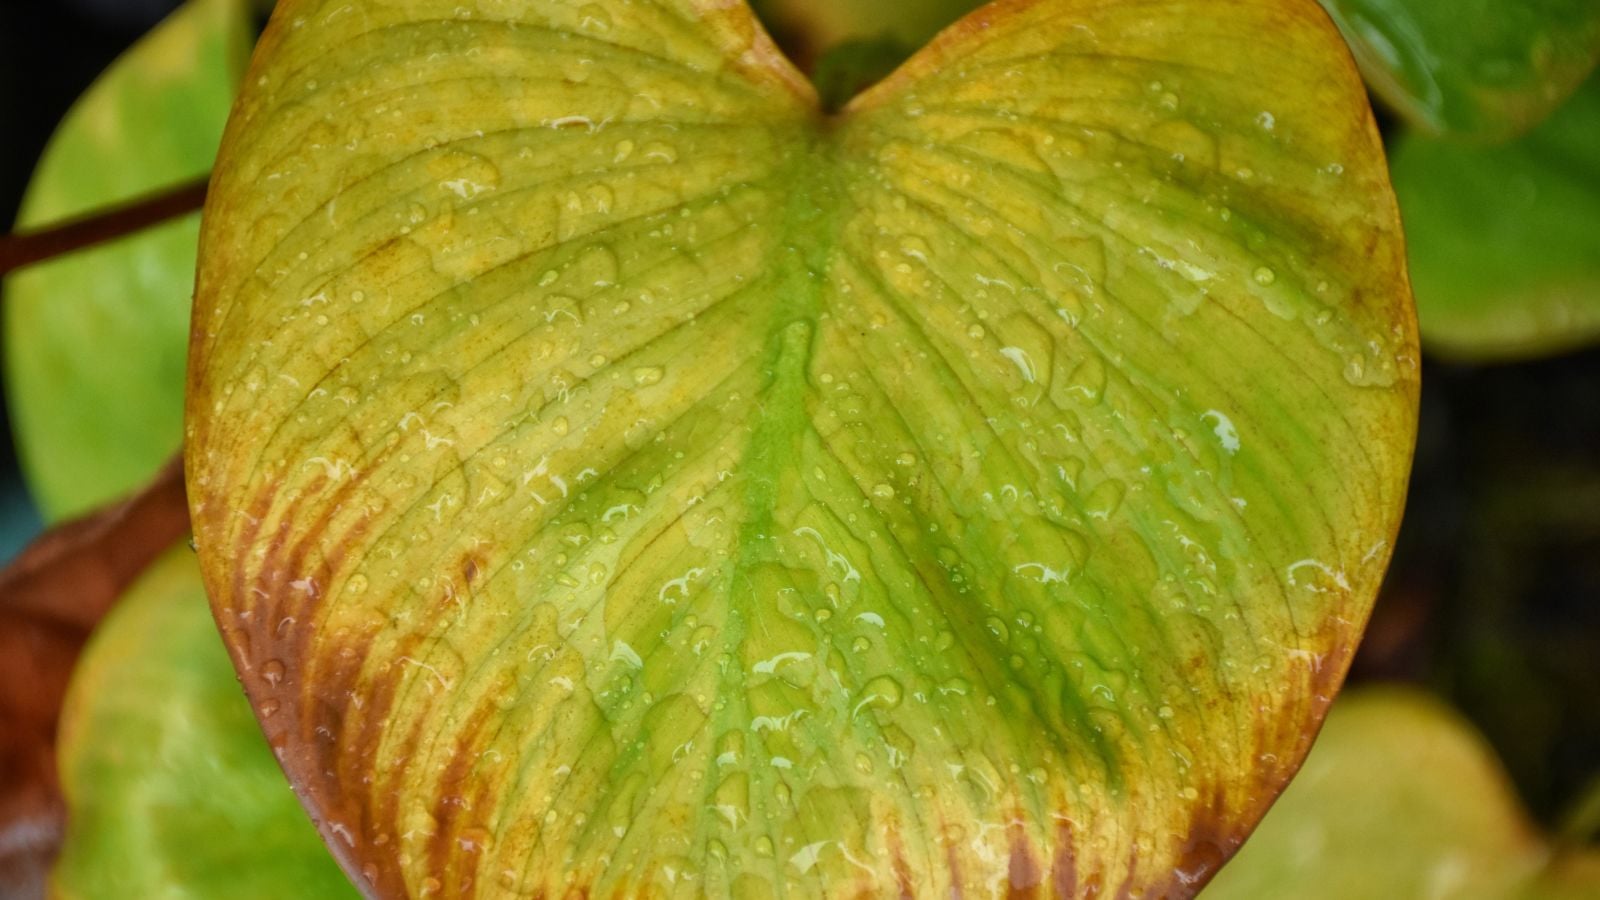
Overwatering is the most common reason for brown and yellow alocasia leaves, and it’s usually the first thing to rule out (not just in alocasias, but all plants). Alocasias don’t tolerate soggy conditions. When the roots sit in wet soil for too long, they lose access to oxygen and start to rot, which turns the leaves yellow.
The yellowing from overwatering typically starts with the lower, older leaves. They turn a uniform yellow rather than developing patchy discoloration (which could indicate pest problems), and they often feel soft or limp rather than dry and crispy. If the problem continues, you may also notice a mushy texture at the base of the stems.
To check, push your finger into the soil. If it feels wet or heavy several days after watering, the soil is staying too moist. Remove the plant from its pot and examine the roots. Brown, mushy, or foul-smelling roots confirm overwatering and rot.
Trim away any damaged roots with clean scissors, repot in fresh, well-draining potting mix, and adjust your watering going forward. Only water when the top inch or two of soil feels dry, and make sure excess water can drain freely from the pot. The yellow leaves themselves won’t recover, but new growth should come in healthy once conditions improve.
Underwatering
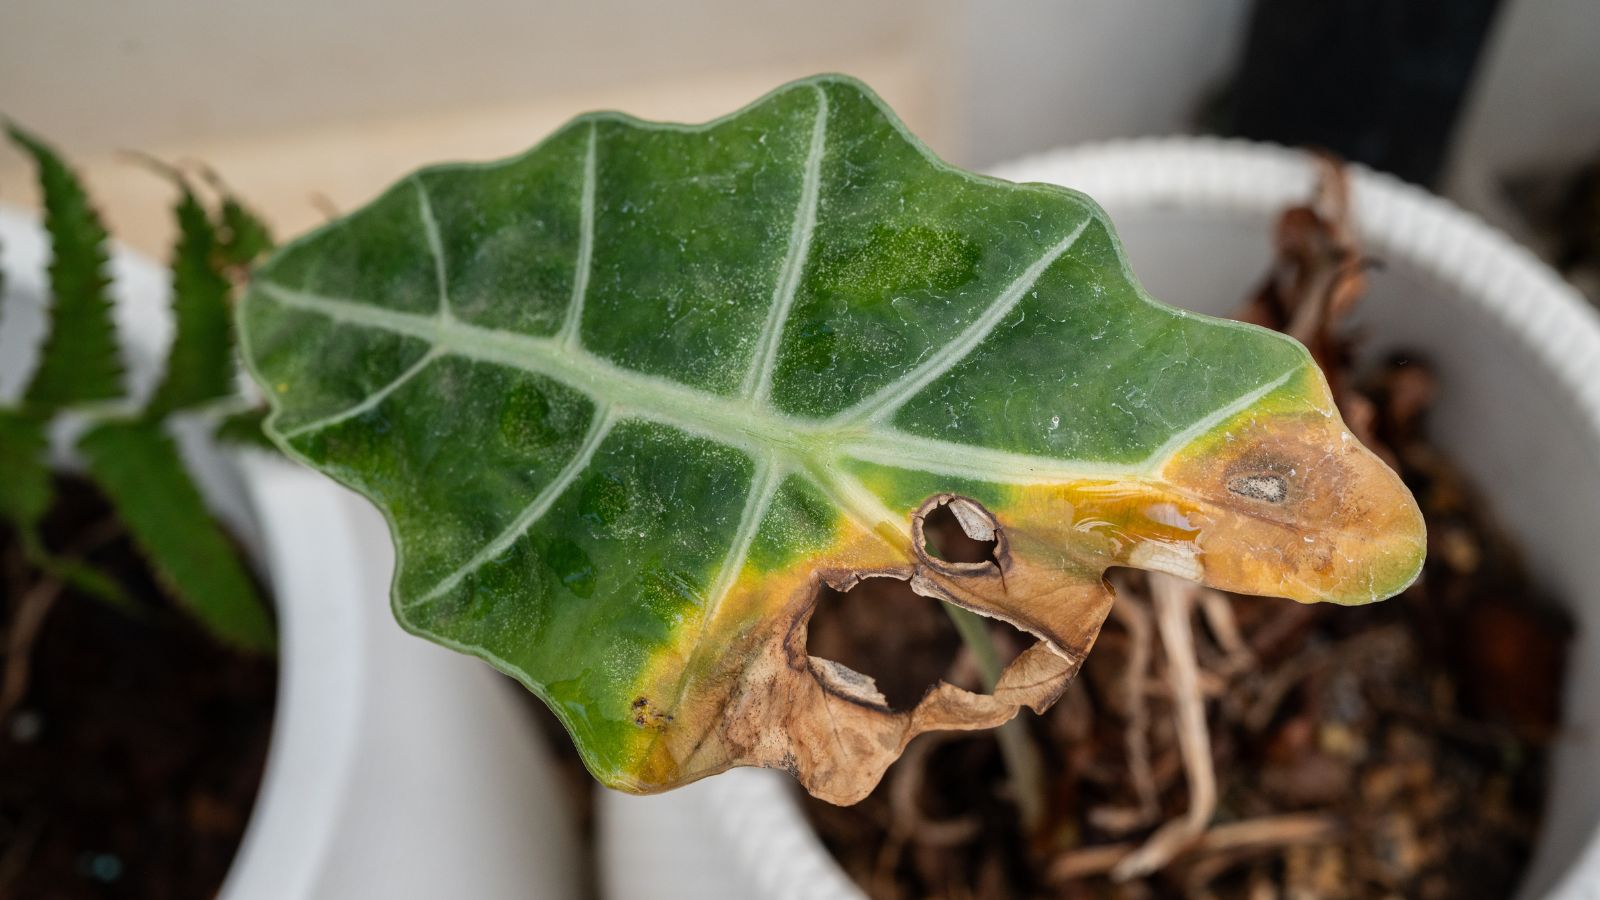
Underwatering produces different symptoms than overwatering, though both involve discoloration. When an alocasia doesn’t get enough water, the leaves typically develop brown, crispy edges and tips first. If the drought continues, the entire leaf may yellow and dry out, eventually becoming papery and brittle.
The key difference is texture. Overwatered leaves feel soft and limp. Underwatered leaves feel dry, thin, and crispy, especially around the margins. The soil will also be a clear giveaway. If it’s pulling away from the sides of the pot or feels completely dry throughout, underwatering is the likely cause.
Alocasias are tropical plants that prefer consistent moisture. They don’t want to sit in water, but they also shouldn’t dry out completely between waterings. If you’ve been letting the soil go bone dry before watering, you’re stressing out your plant.
Give the plant a thorough watering, letting water run through the drainage holes until the entire root ball is saturated. If the soil has become hydrophobic (repelling water rather than absorbing it), soak the entire pot in a basin of water for 15 to 20 minutes to rehydrate the soil from below. Going forward, check soil moisture regularly and water before the soil dries out completely.
Lack of Humidity

Alocasias are native to tropical forests where humidity levels sit well above what most homes provide. When the air is too dry, the leaf edges and tips are the first to suffer, turning brown and crispy. This is especially common in winter when heating systems dry out indoor air.
Low humidity damage is easy to confuse with underwatering because the symptoms look similar. Brown, dry edges in both cases. The difference is that with low humidity, the soil moisture may be perfectly fine. The plant is getting enough water at the roots, but the leaves are losing moisture to the dry air faster than the plant can replace it.
If you’re watering correctly and still seeing brown edges, humidity is the most likely culprit. Alocasias prefer 60 to 80% humidity. A humidifier placed near your plants is the most effective fix. Grouping plants together also raises the humidity in their immediate area, as does placing pots on pebble trays filled with water (make sure the pot sits on the pebbles above the water line, not in it).
Excess Sunlight
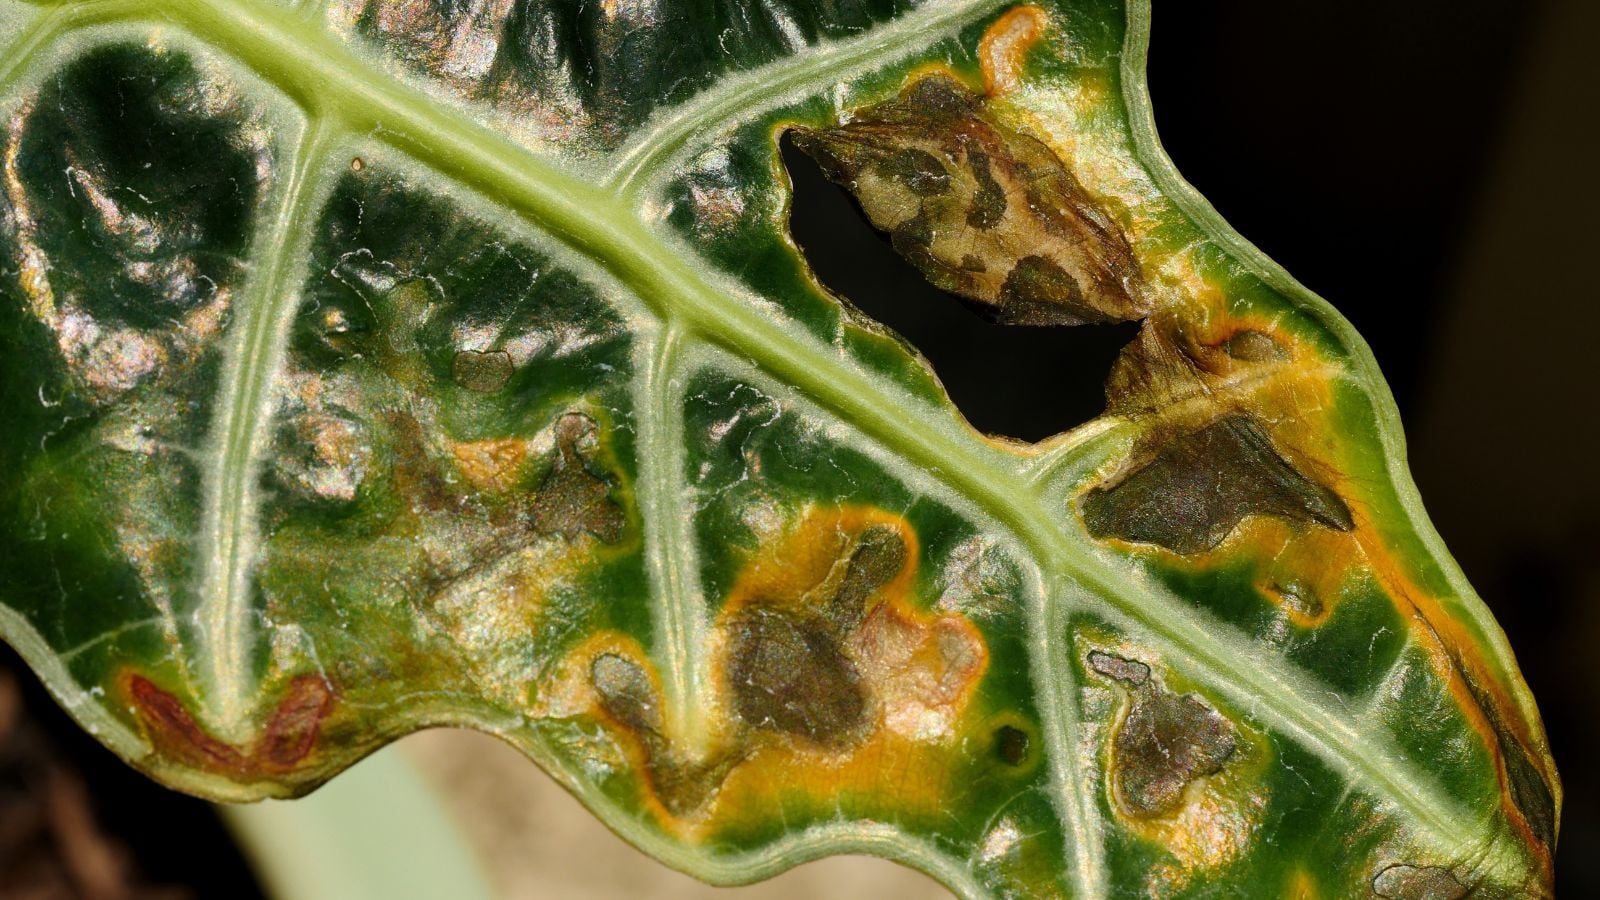
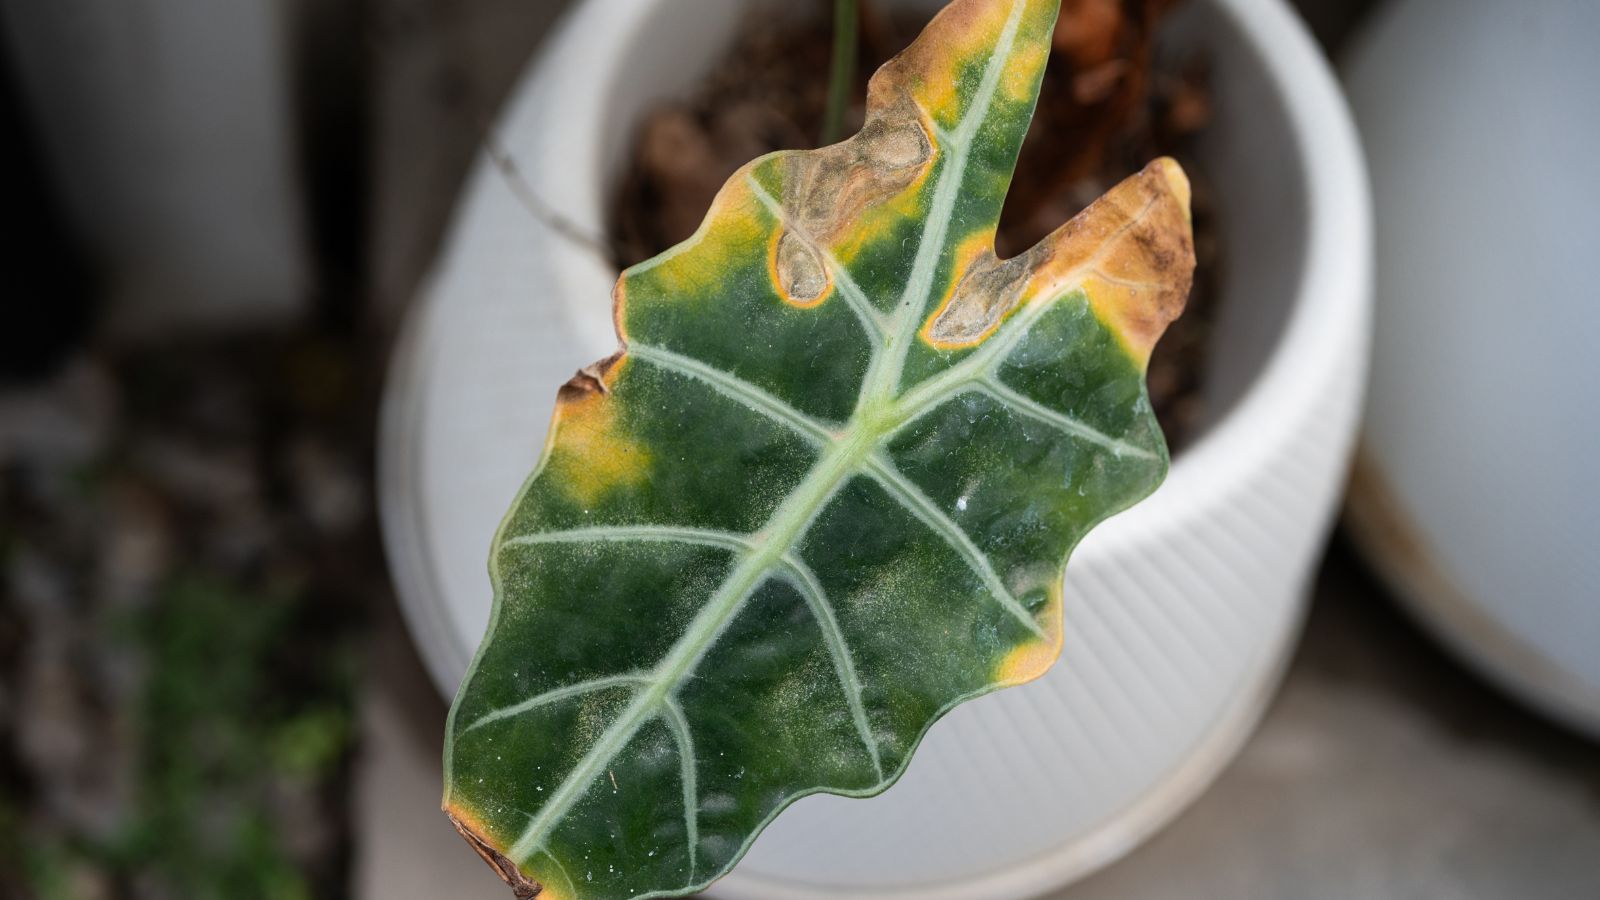
Alocasias need bright, indirect light. Direct sunlight, especially the intense afternoon sun, can scorch the leaves and cause brown and yellow patches, bleached spots, or a generally washed-out appearance. The damage is most obvious on the parts of the leaf that face the light source directly.
Sunburn on alocasia leaves is different from the gradual browning of low humidity or underwatering, which tends to affect leaf margins evenly. Sun damage can also cause yellowing if the leaf tissue is stressed enough, particularly on thinner-leaved species. If your alocasia is near a south or west-facing window with no filtering, that’s likely the problem.
Move the plant back from the window, shift it to a spot with indirect light, or add a sheer curtain to diffuse the strongest rays. East-facing windows tend to provide the right balance of brightness without the risk of scorching.
Leaves that have already been burned won’t recover. The damaged tissue is permanent. But once you correct the light exposure, new growth should come in without issues. Remove badly scorched leaves to keep the plant looking tidy and to redirect energy toward healthy foliage.
Incorrect Soil

The wrong potting mix can create conditions that lead to both brown and yellow alocasia leaves, even if your watering habits are fine. Alocasias need a well-draining, airy mix that holds some moisture without staying waterlogged.
Heavy soil compacts over time, reducing airflow around the roots and holding moisture far longer than alocasias can tolerate. The result is essentially the same as overwatering: roots can’t breathe, rot develops, and the leaves start to yellow. You might be watering at the right frequency, but if the soil won’t let the excess drain away, the outcome is the same.
On the other hand, a mix that’s too coarse or fast-draining can dry out before the roots have a chance to absorb enough moisture, leading to the brown, crispy edges associated with underwatering.
A good alocasia mix balances retention and drainage. Combine roughly equal parts peat moss or coconut coir, perlite, and orchid bark for an open, chunky texture that holds moisture without staying soggy. If you’d rather not mix your own, a premixed aroid potting mix is designed for exactly this type of plant.
If you suspect the soil is the issue, repotting into a better mix is the most direct fix. Do this in spring if possible, when the plant is actively growing and can recover from the disturbance more quickly.
Overfertilizing
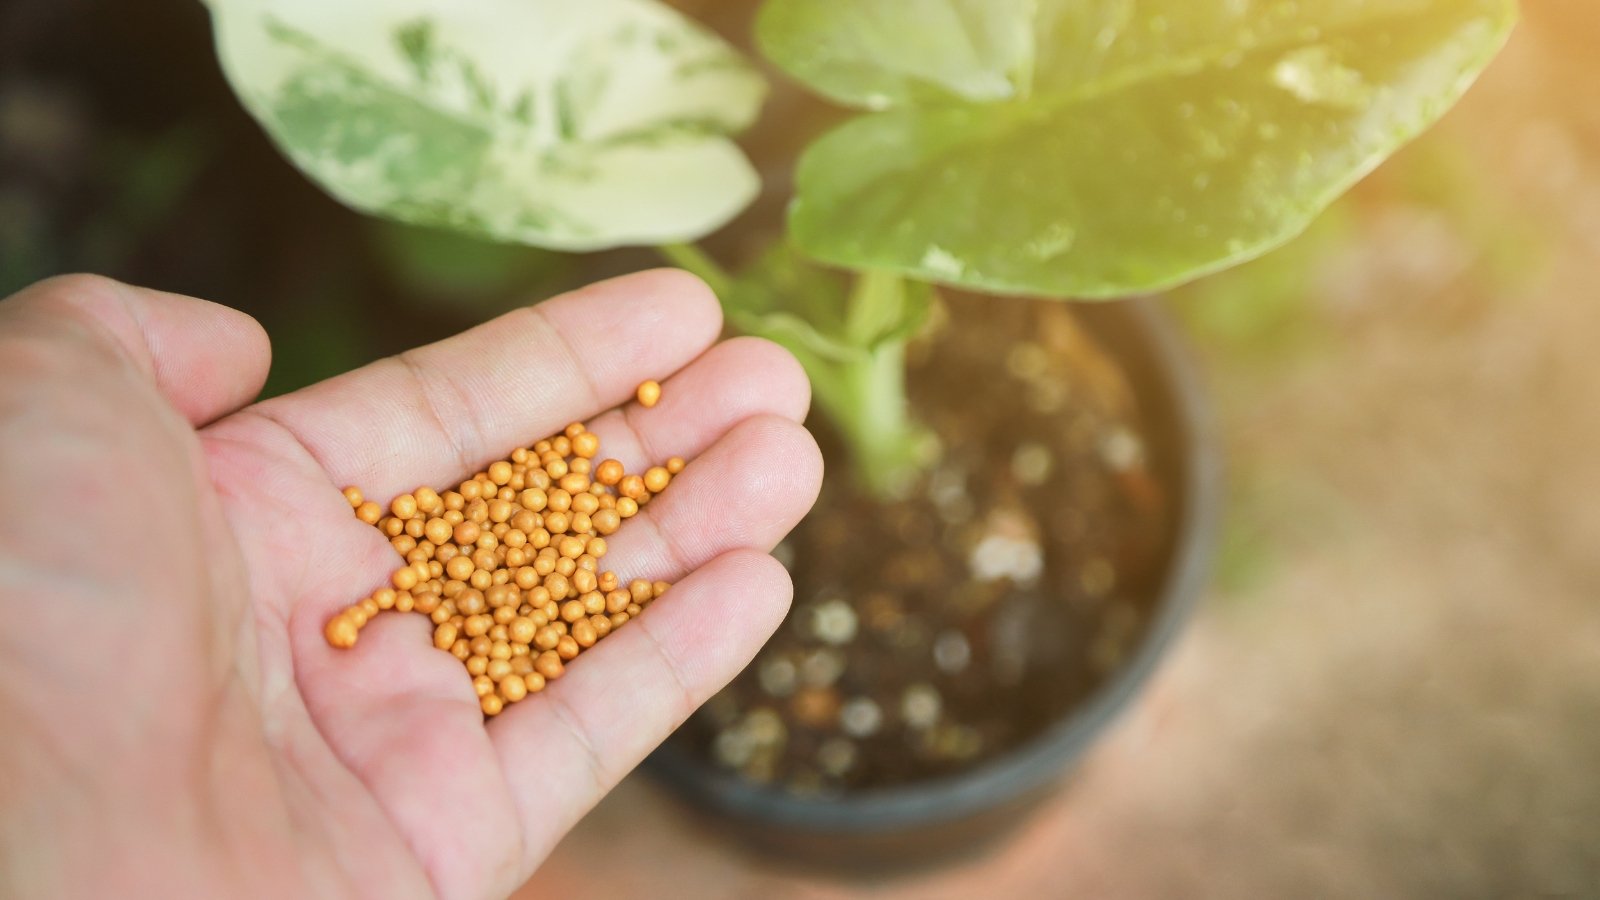
Alocasias are not heavy feeders, and excess nutrients, particularly excess salts from synthetic fertilizers, accumulate in the soil and damage the roots. The symptoms can look similar to underwatering or low humidity, which makes overfertilizing easy to overlook as a cause.
One clue is timing. If the brown or yellow alocasia leaves appeared shortly after fertilizing, that’s probably the issue. If you think you’ve overfertilized, flush the soil thoroughly by running water through the pot for several minutes, letting it drain completely. This helps dissolve and wash away excess salts. Hold off on feeding for at least a month afterward to give the roots time to recover.
Going forward, fertilize less than you think you need to. A balanced liquid fertilizer diluted to half the recommended strength, applied once every four to six weeks during the growing season, is usually plenty. Stop fertilizing entirely in fall and winter when growth slows.
More frequent or stronger applications don’t produce faster growth. They just increase the risk of damage.
You Need a New Pot
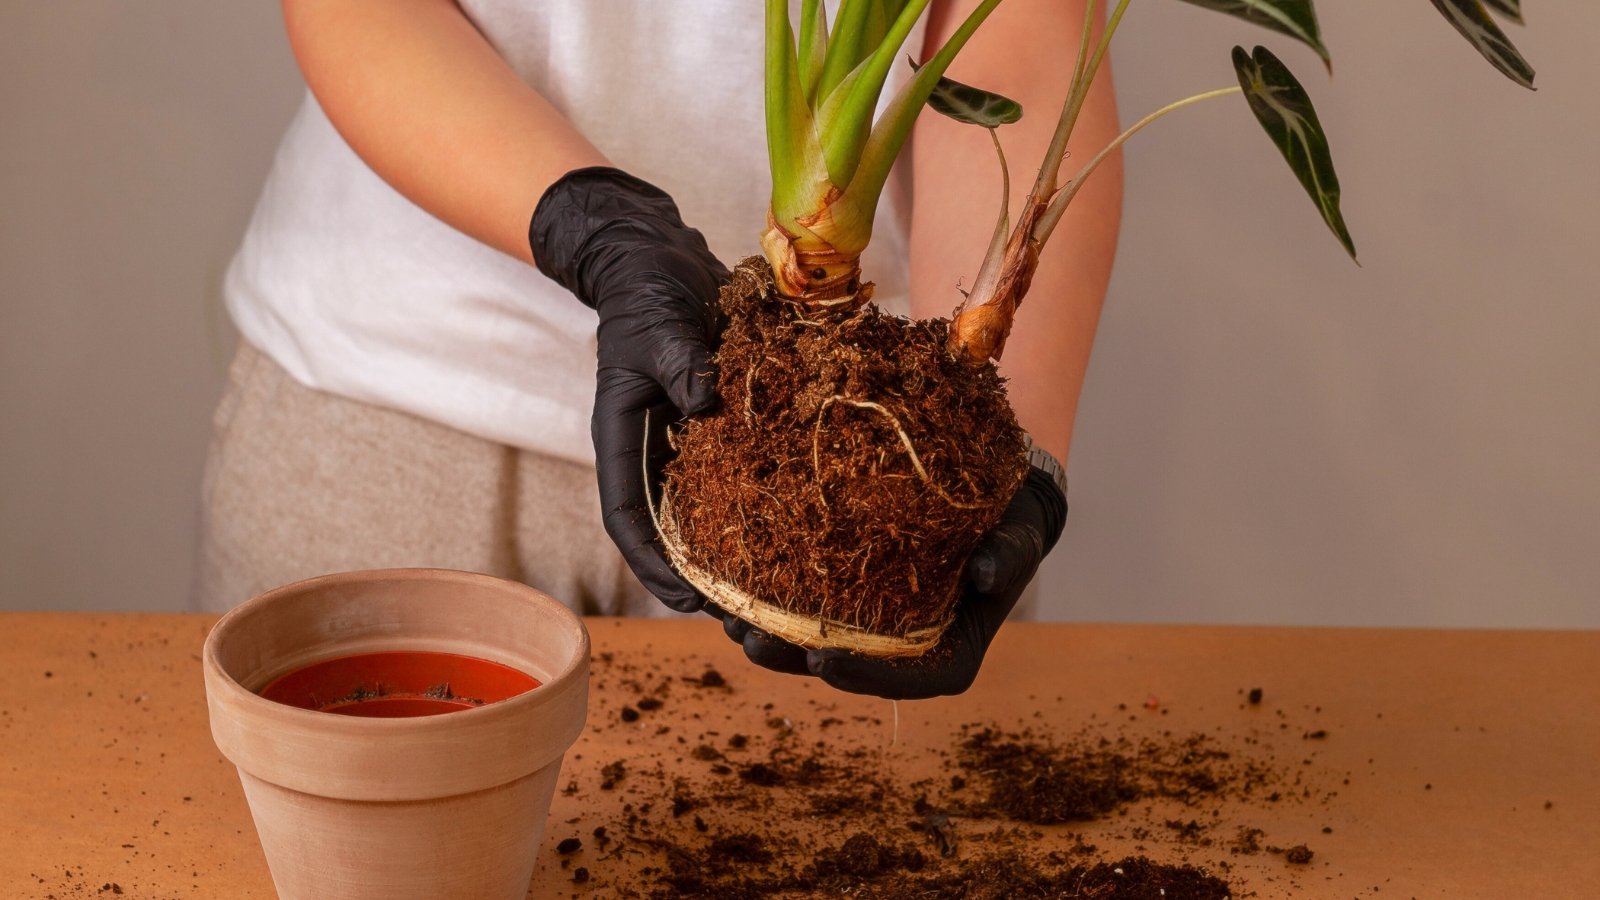
Sometimes the issue isn’t your care routine at all. If your alocasia has been in the same pot for several years, the plant may have outgrown its container or the soil could have degraded over time, and the resulting root stress can cause both yellow and brown leaves.
The opposite problem is also possible. A pot that’s too large holds more soil than the roots can use, which means the excess stays wet for too long and creates the conditions for root rot. This is more common with plants that have recently been potted up into a much larger container in one go.
If your alocasia is rootbound with brown or yellow leaves, repot into a container one to two inches wider in diameter than the current pot. Use fresh potting mix and gently loosen any circling roots before planting. If the pot is too large and the soil stays wet, move the plant into something smaller that better matches the size of its root system.
Also check that your pot has adequate drainage holes. A beautiful pot without drainage is a recipe for problems, no matter how carefully you water. If you want to use a decorative container, keep the plant in a plastic nursery pot inside it and remove it for watering so excess moisture can drain away completely.